-
Video Converter
 For Windows
- Video Converter Ultimate

 For Mac
-
Multimedia
 For Mac
-
Utility
 For Windows
- Video Downloader

 For Mac
 For Windows
 For Mac
 For Mac
 For Windows
 For Mac
In the world of internet streaming, Amazon Firestick is a popular device that allows you to enjoy a variety of content on your TV. If you want to share your exciting moments on Firestick with friends or record tutorial videos for future reference, using the screen recording feature of iToolshare is an ideal choice. This article will guide you on how to effortlessly record the screen of your Firestick using iToolshare.
Here are the detailed steps to record Firestick using iToolshare:
Before you begin recording, make sure you have connected the Firestick device and have it connected to your TV. Also, ensure that you have downloaded and installed the iToolshare screen recording software, so that you can record the Firestick screen on your computer.
Connecting your computer to your Firestick can be done in two ways:
Method 1: Connect with HDMI Cable
Connect your computer to your Firestick using an HDMI cable.
Turn on your TV and select the AV input or HDMI input associated with your computer using your TV remote control.
Method 2: Connect on the Same Wi-Fi Network
Ensure that your computer and Firestick device are connected to the same Wi-Fi network.
This facilitates smooth communication between the devices, enabling you to capture the content of the Firestick screen on your computer.

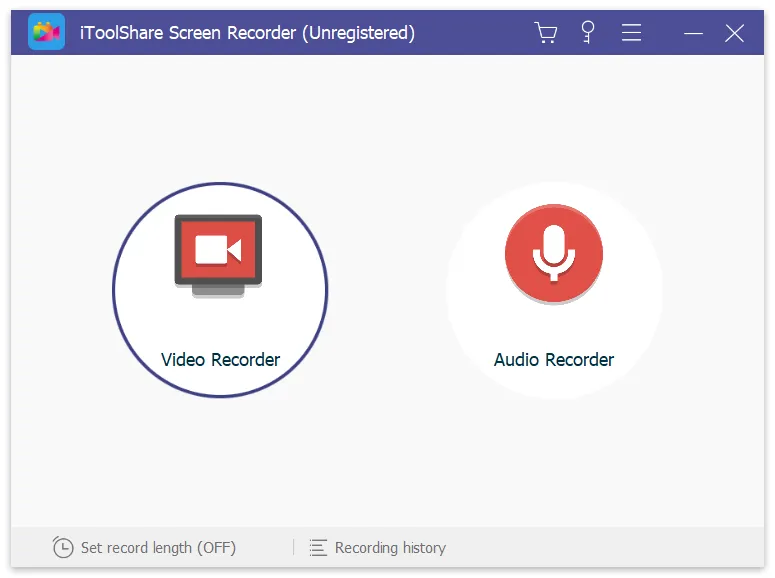
Open the iToolshare screen recording software on your computer. Make sure the software has launched successfully and is in recording mode.

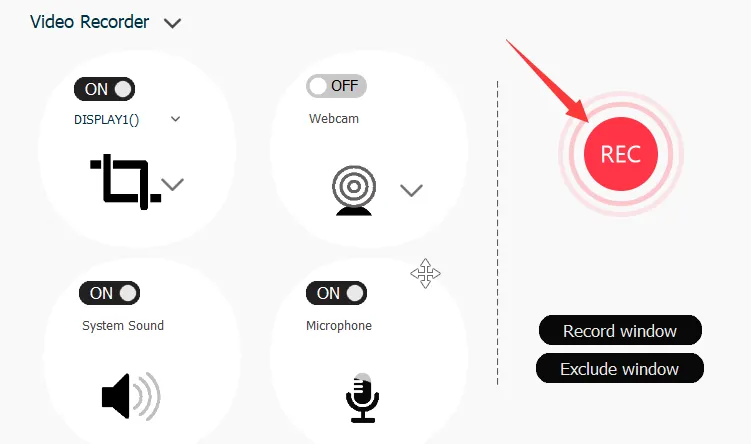
Within the iToolshare screen recording software, you can choose to record full screen or other custom screen regions.
When you are ready to start recording, click the record button in the iToolshare software. Begin playing the content on your Firestick that you want to record, whether it's movies, TV shows, or other applications. iToolshare will start capturing your Firestick screen and record it as a video file.

Once you have finished recording, click the stop button in the iToolshare software. The recorded video will be saved to the location you specified, and you can access it later for editing, archiving, or sharing.
iToolshare also provides video editing capabilities, allowing you to trim, refine, and add effects to your recorded Firestick video. After editing, you can choose to upload the video to various social media platforms or video sharing websites to share your recordings with others.
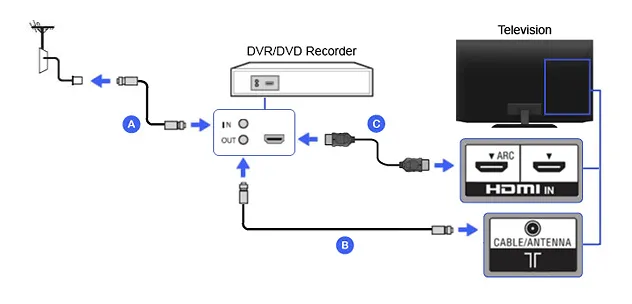
If you wish to record TV shows from Firestick to a DVD recorder, follow these steps after connecting your DVD recorder to your smart TV:
1.Connect the composite cable, S-video, and RCA audio cable between your smart TV and DVD recorder.
2.Link the composite video cable and RCA audio cable to the TV and DVD recorder outputs.
3.Ensure that the TV signal is passing through the DVD recorder.
1.Turn on the appropriate input on your DVD recorder. Typically, use L1 or L3 for rear inputs and L2 for front inputs.
2.Confirm that the DVD recorder is set to the correct input source.
1.Set the DVD recorder to channel 3 or 4.
2.Use the DTV converter or set-top box to set the desired TV channel you want to record.
3.Once the setup is complete, the DVD recorder will capture the video contents from the Firestick.

By following these steps, you should be able to record TV programs from your Firestick onto a DVD recorder. Always refer to the specific instructions for your TV, DVD recorder, and any additional devices for the most accurate setup.
With iToolshare screen recording software, capturing and recording the exciting content on your Firestick screen is made easy. Whether it's capturing entertainment clips or creating Firestick tutorials, this feature fulfills your needs. Start using iToolshare today and explore the endless possibilities of Firestick!
Can I record specific apps or games on my Firestick using iToolshare?
Can I edit the recorded Firestick using iToolshare?
Can I customize the recording settings, such as video quality and format?